Inspection of your roof is vital to maintaining the integrity of your home. By following a systematic approach, you can identify potential issues early and avoid costly repairs down the line. This guide will provide you with imperative steps to help you perform an effective roof inspection, ensuring that you safeguard your investment and keep your home safe and sound. From checking for visible damage to assessing overall roof health, these steps will empower you to take charge of your roofing maintenance.
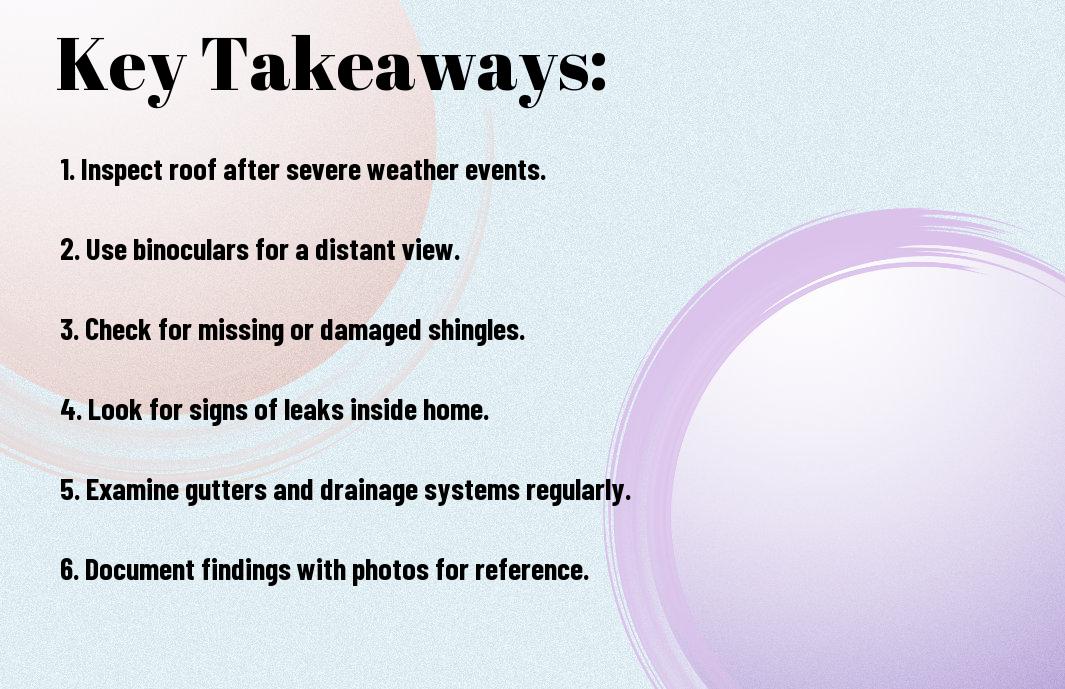
Key Takeaways:
- Conduct a thorough initial assessment from the ground to identify obvious issues, such as sagging or missing shingles.
- Utilize tools like ladders, binoculars, and flashlights for a detailed inspection of hard-to-reach areas, looking for signs of wear or damage.
- Document findings with photos and notes to track changes over time and aid in discussions with roofing professionals if repairs are needed.
Importance of Roof Inspections
To maintain the integrity of your home, regular roof inspections are imperative. They help identify potential issues before they escalate into costly repairs. By keeping a close eye on your roof’s condition, you ensure a safe environment and extend the lifespan of your roof, ultimately protecting your investment and increasing your property’s value.
Safety Considerations
Above all, safety should be your top priority during roof inspections. When climbing onto your roof, use proper safety equipment, ensure stable footing, and consider enlisting a professional if you’re unsure. Regular checks foster a secure environment, safeguarding both you and your family from potential hazards like leaks or structural failures.
Cost Savings
Any proactive measures you take regarding roof inspection can lead to significant cost savings over time. By identifying issues early, you can prevent extensive damage and avoid premature roof replacement, allowing you to allocate your budget more effectively.
Indeed, investing in roof inspections can save you a considerable amount of money in the long run. Simple issues like missing shingles or minor leaks can be fixed easily, while neglecting them may lead to water damage or mold growth, resulting in hefty repair bills. By staying ahead of maintenance, you protect your property and ensure it remains a sound investment for years to come.
Tools and Equipment Needed
Some vital tools and equipment will ensure a thorough roof inspection. You should gather items such as a sturdy ladder, a flashlight, a measuring tape, and a notepad for documentation. Additionally, a digital camera or smartphone can be helpful for capturing images of any issues. Having these tools on hand will make your inspection process much more efficient and comprehensive.
Essential Inspection Tools
Needed for effective roof inspections are a few key tools. A reliable ladder will allow you to access different roof sections safely. A flashlight helps you inspect dimly lit areas, while a measuring tape ensures accurate assessments of any damage or repairs needed.
Safety Gear
Across your safety gear, you should prioritize items like a hard hat, non-slip shoes, and safety goggles. These vitals offer protection against potential hazards while inspecting your roof.
With the right safety gear, you greatly reduce the risks associated with roof inspections. A hard hat protects your head from falling debris, while non-slip shoes enhance grip on ladders or slippery surfaces. Safety goggles guard your eyes from dust or debris, ensuring you can see clearly while working. Investing in this gear allows you to focus on the inspection without unnecessary worry.
Preparing for the Inspection
For a successful roof inspection, preparation is key. You should ensure that you’re equipped with the necessary tools, such as binoculars, a notepad, and a camera for documentation. It’s also wise to dress appropriately for the weather and wear safety gear if you’ll be climbing onto the roof. This preparation will help you carry out a thorough inspection without hitches.
Scheduling the Inspection
The timing of your roof inspection can significantly affect its outcome. Aim to schedule your inspection during mild weather conditions for better visibility, ideally in spring or fall. This will allow you to closely examine the roof without the hindrance of extreme temperatures, snow, or rain.
Gathering Information
To make the inspection process as effective as possible, it’s important to gather relevant information beforehand. This includes the age of your roof, any existing warranties, and records of previous repairs or inspections. Having this data at hand will provide insights into potential issues and help you make informed decisions moving forward.
A thorough collection of information gives you a comprehensive understanding of your roofing system. You should assess the materials used, past issues, and maintenance history, as these elements can affect your roof’s current condition. In addition, researching the common roofing problems in your area will help you identify potential threats. Being well-informed equips you to address any concerns that surface during the inspection.
Conducting the Exterior Inspection
Once again, it’s vital to approach your roof inspection methodically. Start at the edges and work your way towards the center, observing all visible components. Being thorough in this step can help identify potential issues before they become significant problems, ensuring your roof’s integrity and longevity.
Roof Surface Assessment
To assess the roof surface, examine for signs of wear and damage like cracks, blisters, or missing shingles. Pay special attention to the areas around chimneys and skylights, as these spots are prone to leaks. Taking notes of any irregularities will aid in further analysis and repairs.
Flashing and Ventilation Check
On your next step, scrutinize the flashing and ventilation systems. Proper flashing prevents water from penetrating your roof at joints and seams, while sufficient ventilation allows for temperature regulation and moisture control in your attic.
Hence, ensuring that flashing is intact and correctly installed is vital for avoiding costly water damage. Check for rust, deterioration, or gaps in the joints. Ventilation should include both intake and exhaust systems; make sure they are not blocked to maintain airflow. This assessment not only prolongs your roof’s life but also enhances your home’s overall energy efficiency.
Conducting the Interior Inspection
Not taking the time to conduct an interior inspection can lead to overlooked issues that may worsen your roofing situation. Check areas like ceilings and walls for stains, which can indicate leaks. For detailed guidance on inspecting your roof, refer to 10 Steps You Need For Your Residential Roof Inspection.
Attic Inspection
On your attic inspection, aim to identify any signs of trouble that could affect your roof’s integrity. Look for insulation that is damp or compressed and check for adequate ventilation to avoid moisture buildup that may harm your roof and home.
Signs of Water Damage
Conducting a thorough examination for any signs of water damage is vital for maintaining the health of your roof. Look for discoloration, peeling paint, or warped materials, which are strong indicators that water has penetrated your structure.
Signs of water damage can vary, but you should prioritize identifying swollen wood, rusted metal components, or the musty smell of mold, as these may indicate ongoing or past water infiltration. Pay special attention to areas around vents, chimneys, and skylights, where leaks are more likely to occur. Catching these issues early can save you significant repair costs and ensure the longevity of your roofing system.
Documenting Findings
Unlike casual observations, thorough documentation of your roof inspection findings is vital for future reference and effective maintenance planning. By keeping detailed records, you can track changes over time, assess the effectiveness of repairs, and provide accurate information to contractors when needed. This practice not only enhances your understanding of your roof’s condition but also fosters a proactive approach to home maintenance.
Creating a Checklist
About creating a checklist, it serves as an invaluable tool to ensure you cover all aspects of your roof inspection. Listing items such as shingles, flashing, gutters, and vents allows you to methodically assess each component, minimizing the chance of missing any critical issues. By following your checklist, you can streamline your inspection process and facilitate comprehensive documentation.
Photographic Records
At the same time, taking photographic records during your roof inspection can greatly enhance your documentation efforts. These visual references provide compelling evidence of the roof’s condition and any identified issues, making it easier to communicate with contractors or insurance companies in the future.
The key to effective photographic records is consistency and clarity. Use a camera or smartphone to capture images of each area listed on your checklist, ensuring you document any signs of wear, damage, or necessary repairs. Label each photo with notes about the specific issue and the location on your roof. This method not only helps you remember the condition of various components but also shares an explicit visual context that supports your written documentation when discussing with professionals.
Conclusion
From above, ensuring an effective roof inspection involves a systematic approach that includes thorough visual checks, understanding common problem areas, and using proper safety equipment. By taking your time and addressing each step meticulously, you can identify potential issues early, ultimately protecting your home and saving money on repairs. Regular inspections not only extend the lifespan of your roof but also provide peace of mind. By following these imperative steps, you set yourself up for success in maintaining your roof’s integrity.
Q: What are the key steps to conduct a thorough roof inspection?
A: To effectively inspect a roof, follow these vital steps: First, ensure safety by using a sturdy ladder and wearing appropriate gear. Begin your inspection at the rooftop by checking for any visible damage, such as cracked or missing shingles, rusted metal, or sagging areas. Next, look for signs of leaks, such as water stains or mold in the attic space. Afterward, evaluate the gutters and drainage systems for blockages or debris that could cause water buildup. Lastly, document any issues found during the inspection, along with photographs to provide a clear record for future reference or repairs.
Q: How often should I perform a roof inspection?
A: It is advisable to inspect your roof at least twice a year, typically in the spring and fall. Additionally, you should conduct an inspection after severe weather events such as heavy rain, storms, or hail. Regular inspections allow homeowners to catch minor issues before they evolve into significant problems, ensuring the longevity of the roof and preventing costly repairs down the line.
Q: What tools do I need for an effective roof inspection?
A: Having the right tools can make your roof inspection more efficient. Key tools include a ladder for accessing the roof, a flashlight for inspecting darker areas, and binoculars to examine hard-to-reach spots from the ground. A camera or smartphone can be helpful for documenting any damage. Additionally, a tarp may be needed in case you encounter any areas that require immediate protection from the elements. If you’re unsure about handling the inspection yourself, consider hiring a professional who can bring specialized tools and knowledge for a thorough evaluation.


