


Roof inspections are crucial to maintaining the integrity of your home and protecting it from potential damage. This guide will equip you with the knowledge and steps needed to effectively inspect your roof, ensuring your safety while safeguarding your investment. By following these tips, you can identify any issues early on, from loose shingles to signs of water damage, and take action to keep your home safe and sound. Let’s get started on your journey to a thorough DIY roof inspection!
Key Takeaways:
- Conduct a thorough visual inspection from ground level before climbing onto the roof to identify any obvious issues such as missing shingles or signs of water damage.
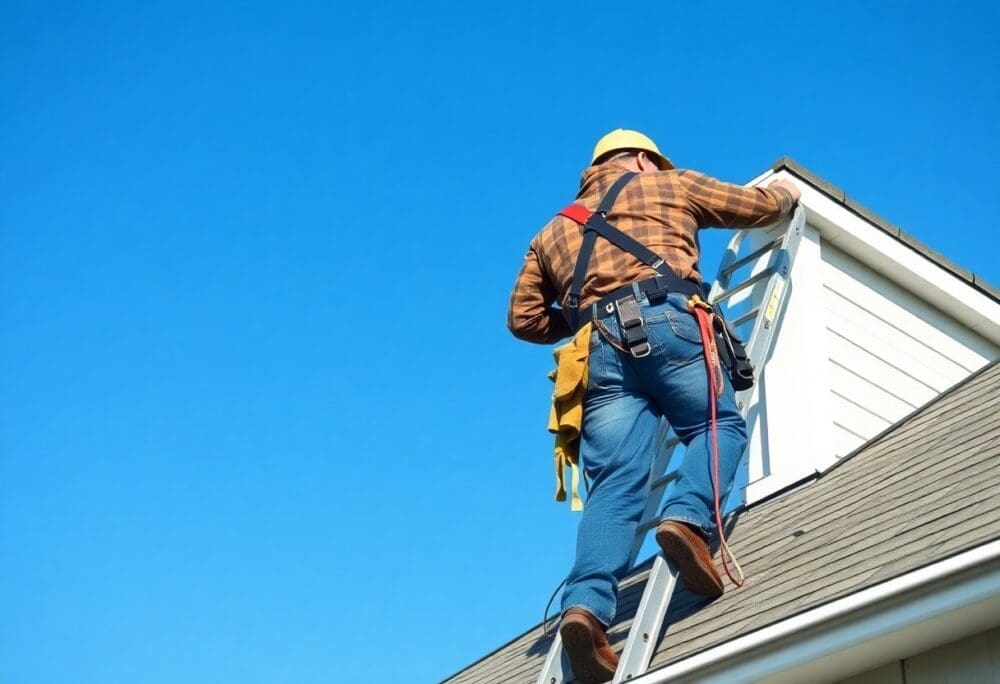
- Use safety equipment, such as a sturdy ladder, harness, and non-slip shoes, to minimize risks when accessing the roof.
- Document your findings with photos and notes to keep track of any repairs needed or changes over time, making it easier for professional assessments if required.
Types of Roofs
While various roofing materials exist, each type has its unique pros and cons that you should consider during your DIY roof inspection. Here’s a breakdown:
| Asphalt Shingles | Most common, economical, and easy to install. |
| Metal Roofs | Durable, eco-friendly, and offers excellent insulation. |
| Tile Roofs | Long-lasting, fire-resistant, but heavy and expensive. |
| Slate Roofs | Highly durable and aesthetically pleasing, but costly. |
| Wood Shingles | Natural look, but requires regular maintenance. |
This guide will help you identify the type of roofing system you have, ensuring your inspection is thorough and effective.
Asphalt Shingles
One of the most popular roofing options, asphalt shingles are affordable, lightweight, and available in various styles and colors. Their ease of installation makes them a favorite for DIY enthusiasts. When inspecting asphalt shingles, check for curling, cracking, or missing pieces to determine their condition.
Metal Roofs
Clearly, metal roofs have gained popularity for their durability and longevity, often lasting over 50 years. They are also energy-efficient and can even reflect heat, which helps reduce your energy costs. When inspecting metal roofs, focus on potential rust spots and loose panels, ensuring that your roofing system remains intact.
To maintain your metal roof’s performance, conduct regular inspections to identify any rust or corrosion. Ensure the seams and fasteners are tight to prevent leaks, and consider applying a protective coating to enhance longevity. Metal roofs can also be noisy during rain, so insulating underneath may be beneficial for added comfort.
Step-by-Step Inspection Process
Clearly, conducting a roof inspection requires a systematic approach to ensure you cover all important aspects of your roof’s condition. The following table outlines the step-by-step process for your inspection:
| Step | Description |
|---|---|
| 1. Prepare Your Tools | Gather a ladder, flashlight, and safety gear to safely access and inspect your roof. |
| 2. Inspect from the Ground | Look for visible issues like sagging, damaged shingles, or debris. |
| 3. Access the Roof | Carefully climb up the ladder and ensure stability before stepping on the roof. |
| 4. Conduct the Inspection | Look closely for any signs of damage or wear across various areas of your roof. |
| 5. Document Findings | Take notes and photos to keep a record of any issues that need addressing. |
Preparing for the Inspection
Preparing for your roof inspection involves gathering all necessary tools and ensuring your safety. You will need a sturdy ladder, a flashlight for inspecting dark areas, and protective gear like gloves and non-slip shoes. Also, check the weather to avoid unwanted surprises, and make sure someone is aware of your inspection plans in case of emergency.
Conducting the Inspection
There’s a lot to uncover during your inspection, so approach it methodically. Start by looking for any missing or damaged shingles, signs of leaking, and any debris that might have collected on your roof. Pay attention to the flashing around chimneys and vents, as well as gutters and downspouts that may need cleaning to maintain proper drainage.
Another key aspect is to check for any moss or lichen growth which can indicate moisture retention issues. As you walk the roof, be mindful of soft spots or areas that feel unstable, which could indicate structural problems. Taking your time during this process can save you significant repair costs down the road, ensuring your roof remains in top shape.
Essential Tips for Homeowners
Now that you’re prepared to inspect your roof, keep these necessary tips in mind:
- Always use a sturdy ladder for access.
- Inspect during dry weather to avoid slipping.
- Approach with caution and avoid walking on wet or mossy shingles.
- Wear appropriate safety gear, such as a helmet and non-slip shoes.
- Have a buddy system in place for emergencies.
After your inspection, you should have a better understanding of your roof’s condition.
Safety Precautions
Homeowners must take specific safety precautions before climbing onto the roof. Always ensure you have a reliable ladder that extends three feet above the roofline and check the stability of the surface you’re stepping on. Avoid loose shingles and overhanging branches that could pose a risk. If you feel uncomfortable or uncertain at any point, consider seeking professional help.
Common Signs of Damage
Signs of damage can often go unnoticed until serious issues arise. You should regularly check for curling or missing shingles, leaks in the attic, or granules collecting in gutters, as these may indicate roof deterioration.
Another critical sign is dark streaks on the roof, which could indicate algae growth and may compromise shingles’ integrity. Look out for water stains on ceilings or walls inside your home, as they may signal leaks originating from your roof. Inspect flashing around chimneys and vents for rust or cracks, and be alert for sagging areas indicating possible structural issues. Addressing these signs promptly can help prevent costly repairs down the line.
Factors to Consider Before Inspecting
Not all roof inspections are equal, so it’s important to assess several factors before you climb up. Consider the following points:
- Your comfort level with heights
- The condition of the roof structure
- Safety equipment availability
- Time since the last inspection
Perceiving these factors can help ensure your safety and the effectiveness of your inspection.
Roof Age and Condition
Some roofs have a lifespan that varies depending on the materials used, which affects the inspection approach. Older roofs may exhibit signs of wear, including curling shingles or rust, which require careful evaluation. Understanding the age and current state of your roof helps prioritize repairs and maintenance.
Weather Conditions
One vital aspect to consider before inspecting your roof is the weather. Ideal conditions include clear skies and minimal wind, ensuring you can navigate safely without slippery surfaces or distractions from the elements.
Weather significantly impacts not just your safety but also the effectiveness of the inspection. Rain can lead to dangerous slip hazards, while high winds make it challenging to maintain your balance. Additionally, inspecting during or after severe weather can reveal roof problems that may not be visible during calm conditions, such as leaks or structural damage caused by fallen branches. Therefore, selecting a day with mild weather will enhance your inspection experience and safety.
Pros and Cons of DIY Roof Inspections
Once again, understanding the pros and cons of DIY roof inspections can help you make an informed decision about whether to take on this task yourself or hire a professional. The table below outlines key points to consider:
Pros and Cons of DIY Roof Inspections
| Pros | Cons |
|---|---|
| Cost-effective | Risk of injury |
| Familiarity with your roof | Limited expertise |
| Flexibility in scheduling | Possible oversight of issues |
| Hands-on experience | Inadequate safety measures |
| Immediate findings | Weather dependency |
For a detailed guide on how to carry out this task effectively, check out the Essential DIY Roof Inspection Checklist for Homeowners.
Advantages of DIY Inspections
One of the main advantages of conducting your own roof inspection is the cost savings associated with not hiring a professional. Additionally, you have the opportunity to become intimately familiar with your roof’s condition, which enhances your understanding of maintenance needs and potential issues. Moreover, scheduling is entirely in your control, allowing you to inspect your roof at a time that best suits your availability.
Potential Risks Involved
One of the primary risks when carrying out DIY roof inspections is the chance of injury. The process may require you to work on ladders or uneven surfaces, which can lead to falls if not approached carefully.
Inspections can also result in you missing critical issues that only a trained eye might catch. Additionally, without proper safety equipment and knowledge of best practices, you could put yourself in danger while on the roof. Always assess your comfort level and the risks involved before deciding to undertake a DIY inspection.
When to Call a Professional
Unlike minor issues that can be managed with basic DIY inspections, significant problems often require the expertise of a professional. If you notice extensive damage, leaks, or structural concerns, it’s best to seek assistance from a roofing contractor. Their specialized training ensures that potential risks are assessed correctly, ultimately safeguarding both your home and your financial investment.
Identifying Complex Issues
Identifying complex roofing issues can be challenging without professional experience. Signs of widespread moisture damage, sagging rooflines, or compromised structural integrity indicate the need for expert evaluation. If you feel uncertain about the extent of the damage or how to remedy it, it’s wise to contact a professional for a thorough inspection.
Insurance Considerations
Considerations regarding your homeowner’s insurance can significantly impact your decision to call a professional. Before starting any repairs, consult your insurance policy to understand what is covered. This information can help you avoid unexpected out-of-pocket expenses and ensure that you receive proper compensation for any necessary roofing work.
The details in your homeowner’s insurance policy may dictate whether you qualify for coverage based on the cause of damage. If your roof experiences issues due to a weather-related incident or other covered events, a professional assessment can provide the necessary documentation for your claim. Additionally, your insurance company may require a licensed contractor to perform the work, making it imperative to call for professional help when you question the severity of your roofing problems.

Final Words
Presently, conducting a DIY roof inspection is a practical way for you to ensure the safety and longevity of your home. By following the guidelines outlined in this guide, you can confidently assess your roof’s condition and address any issues before they escalate. Regular inspections empower you to take proactive measures, enhancing your home’s integrity and safeguarding your investment. Always prioritize safety during your inspection, and don’t hesitate to seek professional help when necessary to maintain the well-being of your household.
FAQ
Q: Why is it important for homeowners to conduct DIY roof inspections?
A: Conducting DIY roof inspections allows homeowners to identify potential issues early on, which can prevent costly repairs in the future. Regular inspections can catch signs of damage, such as missing shingles or leaks, before they escalate into serious problems. By being proactive, homeowners can ensure the longevity of their roof and protect their investment in their property.
Q: What safety precautions should I take when inspecting my roof?
A: Safety should be a top priority during a roof inspection. Always use a sturdy ladder that is on level ground, and have someone hold the base of the ladder for added stability. Wear non-slip shoes to ensure secure footing. Additionally, avoid inspecting your roof during inclement weather, such as rain or strong winds, which can increase the risk of slips and falls. If you feel uncomfortable or uncertain about the task, consider hiring a professional.
Q: What specific areas should I focus on during my DIY roof inspection?
A: When inspecting your roof, pay attention to several key areas. Look for damaged, missing, or curled shingles. Check for debris build-up in gutters and downspouts that could cause water overflow. Inspect the flashings around chimneys and vents for signs of deterioration or leaks. Additionally, examine the attic for any signs of water damage or mold, as this can indicate roof issues. Document any problems you find and prioritize them for repair.